Do-It-Yourself Garage Door Instructions | DDM Garage Doors
Many of our customers have found our instructions to be helpful in repairing their garage doors. DIYers, this is the page for you!
Not sure which tutorial to use? See our troubleshooting page to see possible causes and solutions your garage door problems.
Do you prefer videos? Check out the helpful tips on our DDM Garage Doors YouTube Channel.
Or, just follow the links below and the links from our product pages and other tutorial pages.
Garage Door Springs
Introduction To Garage Door Springs
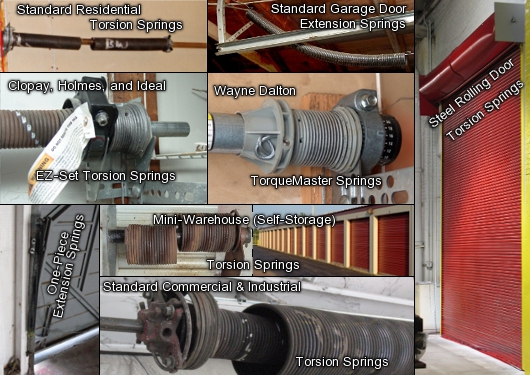
Garage door springs counterbalance the weight of the door to make it easy to open and close. They serve the same purpose of counterweights used to balance doors in centuries past as well as many doors today. For example, if a garage door weighs 100 pounds, a spring force of 100 pounds needs to pull against the weight of the door in order for the door to go up and down. Accomplish this through springs that either stretch or through special torque parts to assist in balancing the door.
If you're looking to learn what options exist for your garage door spring system, check out our introduction to garage door springs video.
Introduction To Garage Door Counterbalance
To safely repair garage doors it's necessary to understand the forces at work. In this video, you'll learn how the door system is counterbalanced, allowing the springs to offset the weight of the door throughout the door's travel.
Standard Garage Door Torsion Springs
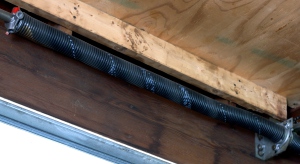
Standard residential torsion springs are found on a shaft above the center of the garage door. These springs typically come in 1 3/4", 2" and 2 1/4" inside diameters.
If you want to know how your torsion spring system works on your door, watch our introduction to garage door torsion springs video.
EZ-Set Torsion Springs
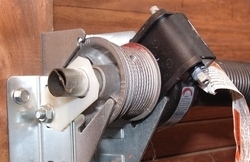
If your garage door has a broken EZ-Set spring, you have two basic options for restoring your door to its previous working order. The simpler and safer option is to keep your EZ-Set system. The other is to convert to the Standard Torsion Spring system.
Wayne Dalton TorqueMaster Torsion Springs
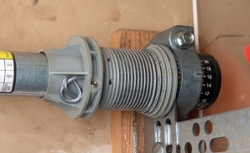
Wayne Dalton's TorqueMaster spring system uses unique hardware. The track radius is smaller than on most other doors, the cable drums are smaller, and the shaft has a unique shape. The torsion springs, instead of sliding over the shaft, fit inside the shaft.
Sectional Garage Door Extension Springs
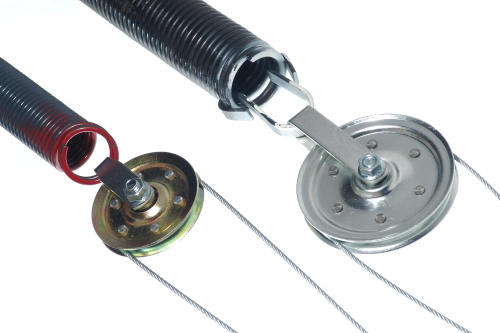
Extension springs have four characteristics: length, inside diameter, wire size, and type of end. Even though springs have these properties, manufacturers generally do not make their extension springs based on the dimensions you may find on your door. Every manufacturer has its own design for making springs.
One-Piece Garage Door Extension Springs
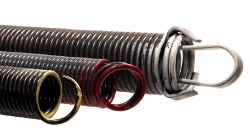
There are two main styles of one-piece springs. The first is the standard spring. This spring is used by a variety of door manufacturers. If the top of your door has rollers that move along a metal track that extends horizontally toward the back of your garage, you have standard one-piece springs.
Commercial and Industrial Torsion Springs
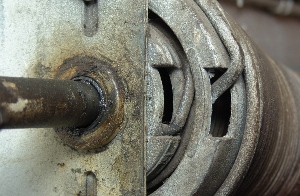
Commercial and industrial overhead doors range from weighing a few hundred pounds to over a thousand pounds. Vertical-lift and high-lift door systems are frequently used in commercial and industrial settings to maximize space. Follow this tutorial to measure your old spring(s) and find your new torsion springs to purchase.
Self-Storage Roll Up Door Springs
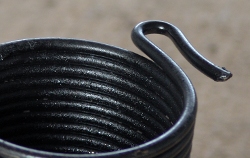
Self-storage roll-up doors operate in a similar manner to steel-rolling door springs. Like a steel rolling door, the curtain on these doors wraps around itself as the door opens. The primary difference, however, is that steel rolling doors are made of interlocking slats, while self-storage roll-up doors are just one piece of steel. While steel rolling doors are typically found in heavier commercial and industrial environments, self-storage roll-up doors are common in self-storage facilities.
Buy Self-Storage Roll Up Door Springs
Steel Rolling Door Torsion Springs
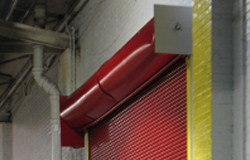
The torsion springs on steel rolling doors work the same way as other torsion springs in the garage door industry. When the door is closed, the spring is wound. The spring is secured to a spring anchor bracket on one end and to the shaft on the other. When the steel rolling door opens, the spring in the barrel supports most of the door weight. The remainder of this weight is lifted by the chain hoist or the operator.
How To Measure Garage Door Springs
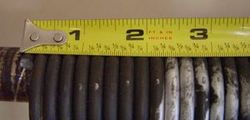
Measuring garage door torsion springs is precise, technical work. It often stumps experienced machinists, engineers, and garage door service technicians. In the door business, we often make mistakes ordering springs. The joke we make is that we'll use them as boat anchors, but you may not have a boat! Click to learn how to avoid ordering a boat anchor.
If you prefer video tutorials, check out our video on how to measure your garage door torsion springs.
How to Weigh a Garage Door
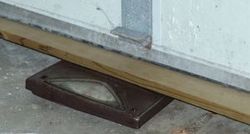
Often we have to start from scratch and re-engineer the torsion springs for an existing garage door. We do this by weighing the door and providing the drum information, door height, and track radius.
There are two ways to weigh a garage door. If you have winding bars and torsion springs on your garage door, you'll find this video helpful.
Here is a video on how to weigh a garage door with torsion springs.
If you have extension springs on your door, or if you don't have winding rods for a torsion spring door, you'll find these instructions helpful.
If you prefer videos, check out our video on how to weigh a garage door with extension springs or torsion springs.
Using Torsion Springs with Different Lifts
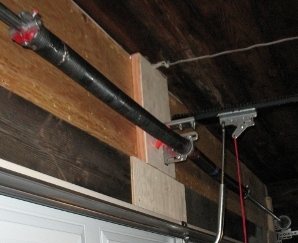
When possible, we recommend using matched torsion springs with comparable lift and cycle life. This will maximize the life of the torsion springs and not result in wasted cycle life, wasted dollars. This tutorial helps homeowners understand how they can utilize torsion springs with different lifts properly.

Maximizing Cycle Life on Unmatched Torsion Springs
We encourage our customers to buy torsion springs that are evenly matched for lift and cycles to maximize spring life. Some garage door springs may have the proper lift, but the cycle rating may differ.
How to Replace Garage Door Springs
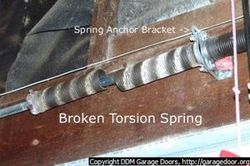
Torsion Spring Replacement
(Two Springs)
This page gives detailed instructions on how to install your garage door springs on a door that uses two springs. Caution! This is dangerous work, so read the warnings carefully.
If you prefer videos, be sure to check out our video on how to replace garage door torsion springs.
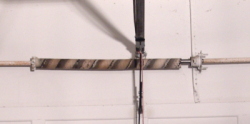
Torsion Spring Replacement
(One Spring)
This tutorial gives detailed instructions on how to replace your torsion spring if your garage door only uses one spring. Caution! This is dangerous work, so read the warnings carefully.
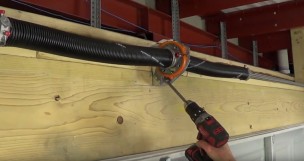
Installing Torsion Springs with an S3 Winder
This tutorial gives instructions for how to wind your springs with an S3 winder, instead of through the more hazardous way of using winding bars. These winders are reusable for up to three full cycles of winding and unwinding your springs before they should be replaced.
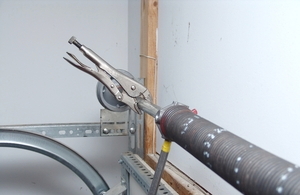
How to Install a Single Torsion Spring Assembly
The purpose of this tutorial is to show how to install a standard garage door torsion spring assembly on a new garage door, or on a door that previously used extension springs, TorqueMaster springs, or EZ-Set torsion springs.

Torsion Spring Cone Replacement
Are you mechanically challenged? Order your springs with cones. If you enjoy the challenge and adventure of something new, however, you can remove the cones from your old springs and use them on your new springs. You'll discover that removing cones from garage door springs can be quite easy. You can give it a try before ordering.
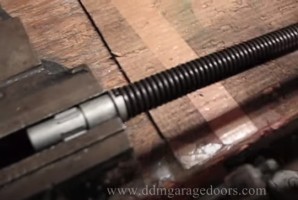
TorqueMaster Cone and Spacer Replacement
Is your TorqueMaster spring still intact, but the cone or spacer is broken? This tutorial is for you! The steps included here are meant to walk you through the process of getting your cone and/or spacer replaced and allow you to reuse your functional spring.
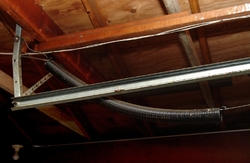
Extension Spring Replacement
Do you have a sectional overhead garage door that uses extension springs? Did one of your springs break? Follow the steps in our easy tutorial to replace your extension springs to get your door running again.

EZ-Set Torsion Spring Replacement
Replacing EZ-Set torsion springs is different from replacing standard torsion springs. The hardware is different. Parts are mounted differently, and major problems can occur if they are not mounted properly.
If you're just looking for directions on how to wind your EZ-Set springs, watch this video on how to wind your EZ-Set torsion springs.

TorqueMaster Torsion Spring Replacement
Looking for help to figure out Wayne Dalton's installation instructions for your TorqueMaster springs? Look no further! Behold - easy to follow, step-by-step instructions to help YOU replace your broken TorqueMaster torsion springs!
If your spring is still intact, but your spring cone or spacer is broken, follow this tutorial on TorqueMaster Cone and Spacer Replacement Tutorial.
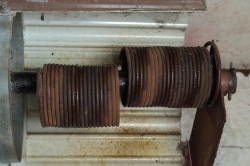
Self-Storage Door Torsion Spring Replacement
The following instructions can be followed by most do-it-yourselfers. You will need a second person to help you at the beginning of this tutorial to raise the door so that you can replace your torsion springs. These instructions are for replacing two springs on a self-storage roll-up door, also known as a mini-warehouse curtain door, that has the typical self-storage style loops on each end of the springs.
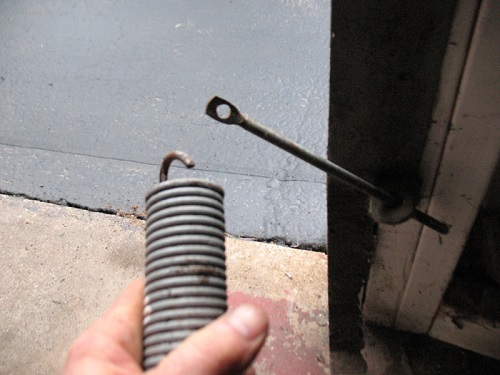
One Piece Garage Door Extension Spring Replacement
The instructions in this tutorial demonstrate how to replace extension springs on a one-piece garage door.
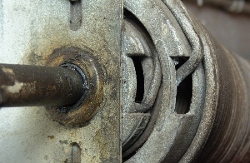
Commercial Overhead Door Duplex Torsion Spring Replacement
This tutorial is for experienced maintenance personnel only. These instructions walk you through replacing both the inside and outside springs of a duplex assembly system on commercial and industrial overhead doors. This tutorial involves a pair of duplex assemblies on a high-lift system.

Commercial Torsion Spring Replacement
I began learning the garage door trade in the Chicago blizzard of 1979. One of the more challenging jobs was replacing four huge 6" I.D. torsion springs on large 22' X 14' sectional overhead garage doors.
These instructions are for 4 - 6" torsion springs with center-mount operator, inside lift. (PDF)
These instructions are for 2 - 6" torsion springs, with coupler in middle, outside lift. (PDF)
These instructions are for 2 - 6" torsion springs, with coupler and operator drive sprocket, inside lift. (PDF)

Wayne Dalton TorqueMaster Torsion Spring Replacement
The instructions in this tutorial demonstrate how to replace Wayne Dalton TorqueMaster springs.
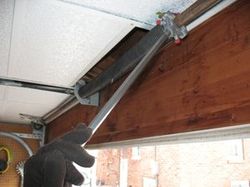
Winding Springs with Less than 90 Degrees of Turning Area
What do you do when your ceiling above the garage door is too low, and there's not enough room to wind the springs? This tutorial is one solution for winding and unwinding your springs in a low headroom space.
Garage Door Spring Conversion
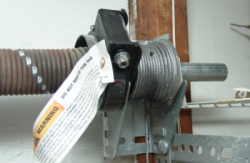
Double EZ-Set Torsion Spring Conversion
Do you want to convert over to standard torsion springs from your EZ-Set springs? Use this tutorial in conjunction with our Torsion Spring Replacement (Two Springs) tutorial to swap out your two EZ-Set springs.

How to Convert from One Garage Door Spring to Two
Discover the risks of using only one torsion spring on your garage door, and see the benefits of using two springs. Included are instructions to help guide you through our torsion spring replacement tutorials. We also provide you with the necessary tools to help you decide what parts you need and which springs to purchase.
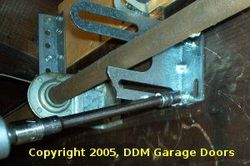
Crawford Torsion Spring Conversion
In the early days of the garage door industry, every manufacturer stamped, rolled, molded, cut, and fastened its hardware. None of the torsion spring parts on Crawford garage doors are standard except for the 1" O.D. shaft. It's a little extra work to convert, but the results will be worth the effort.
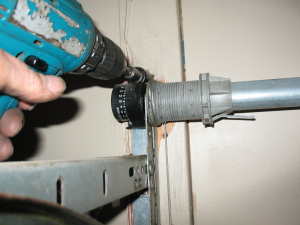
Wayne Dalton TorqueMaster Torsion Spring Conversion
The purpose of these instructions is to demonstrate how to convert from the original TorqueMaster One torsion spring system to standard garage door torsion springs.
Garage Door Repair
Visit our troubleshooting page to better help you diagnose your garage door problem.
DIY Garage Door Repair Videos
Here are some tips to help you work on your garage door safely and to get the job done right. These are our "Tech Tips" videos shot live from our in-house training seminars here in West Chicago. Many of these have a narrow focus. It's also important to remember that proper safety precautions should be taken at all times when working on garage door systems. If you doubt your ability to complete a job safely, consider calling a professional. Safety first, then work!
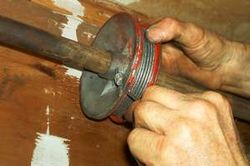
Cable Installation
Cable installations can initially appear to be tricky. I remember one DIYer who removed his whole garage door in trying to reinstall one of the cables. You can follow a simple procedure to avoid the DIYer's mistake. In fact, this can be one of the quickest repairs to make to your garage door. I can usually do it while holding my breath, which irks the customer because of the service fee. Take a hint from the pros and follow our tutorials.
If your garage door uses standard torsion springs, follow our video on how to replace your garage door cables for a standard torsion spring door.
If your garage door uses TorqueMaster torsion springs, follow our video on how to replace your garage door cables for a Wayne Dalton TorqueMaster System.
For extension spring systems, they need safety cables, so follow our video on how to replace your garage door extension spring safety cables.

Commercial Cable Replacement
The following PDFs are instructions for replacing commercial garage door cables in different situations a repair person may encounter in the field.
For replacing commercial cables with an operator, follow our instructions (PDF) for a 22' X 14' door stuck open with cables off and center-mount jackshaft operator, inside lift.
For replacing commercial cables with no operator, follow these instructions (PDF) for a 10' X 10' dock door with no operator, outside lift.
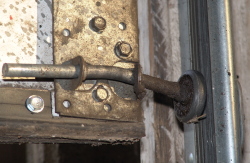
Bottom Roller Replacement
Although the roller replacement may look pretty nasty, this is a really quick job. Caution! This can be a very dangerous job if done incorrectly, however, so follow the warnings carefully!
To replace the rollers on the bottom of your door, follow this video on how to replace your bottom fixture garage door rollers.
If you need to replace the other rollers on your door, follow this video on how to replace all of your garage door rollers quickly.
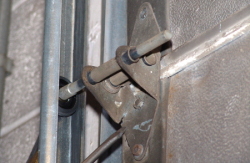
Middle Roller and Hinge Replacement
Have a cracked hinge in the middle of your garage door? Need to replace a roller that's in the middle of your door? There isn't too much to this task, but make sure you follow all of the warnings!
To replace the rollers or hinges on the bottom of your door, follow this video on how to replace your garage door rollers.
If you need to replace the other rollers or hinges on your door, follow this video on how to replace all of your garage door rollers quickly.
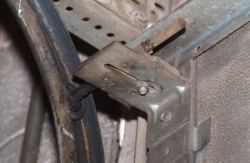
Top Roller Replacement
Thanks to the top fixture, you'll have an easy job replacing the rollers at the top of your door.
To replace the rollers on the top of your door, follow this video on how to replace your top fixture garage door rollers.
If you need to replace the other rollers on your door, follow this video on how to replace all of your garage door rollers quickly.
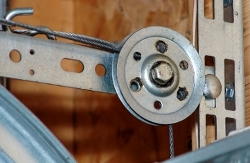
Pulley Replacement
Does your garage door close partway then reopen? Does the door bind and stick? Are there scraping sounds as your door opens and closes? In my 30 years servicing garage doors, I have found these symptoms to be some of the more challenging for do-it-yourselfers to diagnose. One major cause of failure for garage doors using extension springs is that the pulleys wear out.

End Bearing Plate Replacement
It's late Saturday morning and your coffee is cold. You're halfway finished replacing your garage door torsion springs, and you just discovered that your end bearing is shot. Or, you've greased every moving part of your door, and you still have a loud annoying squeak when the door is running. Then, when searching for the cause, you find this seized bearing. That's no problem, though, as this can wait.
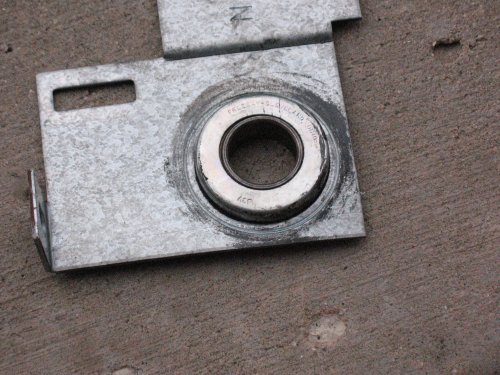
End Bearing Replacement
Sometimes customers prefer to keep the same end bearing plate and replace only the bearings. With just a few parts found in many garages, you can keep that older, heavier end bearing plate and replace only the bearings.
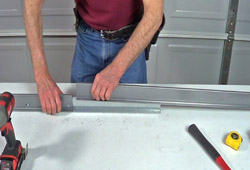
How to Assemble Garage Door Strut Kits
Garage door struts reinforce door sections, preventing them from bending or breaking. They also aid in the smooth opening and closing of the door. If the sections are not rigid, the garage door will bind as it opens and closes.
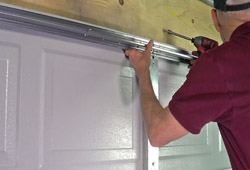
How to Install Garage Door Strut Kits
Garage door struts stiffen door sections to prevent them from bending or breaking. They also allow the door to open and close smoothly.
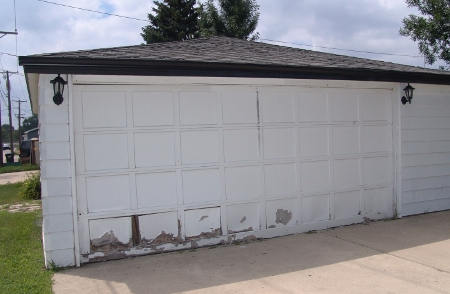
Bottom Section Replacement
Of all the sections in garage doors, replacement of the bottom section occurs most often. Since this section is closest to the garage floor, it absorbs the most amount of water and is eaten more frequently by little critters.
If your door has an inside lift, follow these instructions (PDF) for wood flush door bottom section app. 12' wide with center-mount jackshaft operator - includes scribing with an inside lift.
If your door has an outside lift, follow these instructions (PDF) for wood flush door bottom section app. 12' wide, with center-mount jackshaft operator with an outside lift.
Garage Door Maintenance

How to Level a Garage Door
So you've been noticing that there has been a large gap under the bottom of your door. How do you get your door level and keep out the cold and the mice?
If your door is not shutting evenly, watch this video on how to level your garage door.
If your door isn't balancing properly, watch this video on how to balance your garage door.
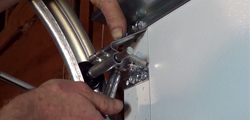
How to Adjust Garage Door Top Fixtures
In this video, we'll show you how to adjust the top fixture roller carrier to seal the gap between the top section and the header and jambs.
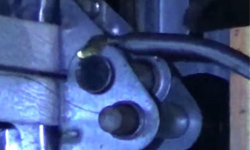
How to Lubricate Your Garage Door
Does your garage door squeak or make a lot of noise when opening? There are some specific ways to help reduce the squeaking of your garage door. Many people will lubricate everything, but that actually can cause damage and a huge mess. There are some specific things that you can lubricate to help maintain the life of your garage door and reduce noise levels. This video explains how to lubricate your garage door to reduce noise and increase the life of your garage door.
This video specifically covers how to lubricate garage door rollers to remove noise.
Garage Door High Lift & Vertical Lift Conversion
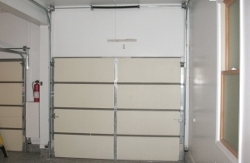
Garage Door High Lift Conversion
Do you want your garage door to open closer to the ceiling? Do you want to still open your garage door when your car is on a car lift? Convert your garage door to a High-Lift door.
After gathering the measurements specified in this tutorial, get a quote for a custom high-lift kit for your garage door.
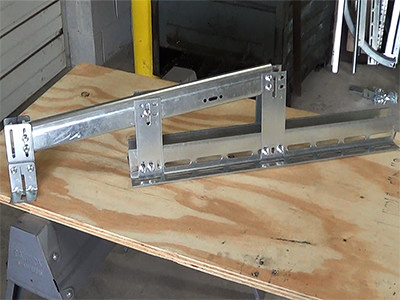
High Lift Track In-House Assembly
DIY customers will find these instructions helpful when assembling their high lift kits. This tutorial demonstrates how we assembly high lift tracks "In-House." After assembling the tracks in-house, we ship them to customers as part of their entire high lift conversion kit.
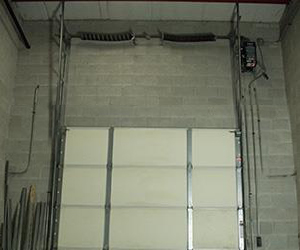
Garage Door Vertical Lift Conversion
The following instructions for converting your garage door to a vertical lift system are written only for the confident mechanic. The task is more complicated than installing a garage door from start to finish. The average "DIY-er" should not attempt this.
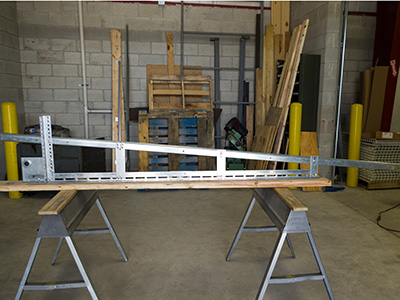
Vertical Lift Track Assembly
The purpose of these instructions is to demonstrate how to cut and assemble a vertical lift track. Afterward, the tracks will be ready to be installed onto the jamb.
Garage Door Low Headroom
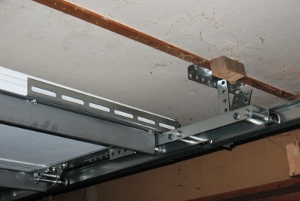
Modification for Low-Headroom Installations with Steel Doors
Do you have a very small amount of space to work with above the top of your garage door? Is your garage ceiling too short to fit your steel garage door normally? This tutorial will explain how to make a low-headroom modification to the brackets for steel garage doors. This will allow a door to operate with a headroom clearance between 9 and 12 inches.
Garage Door Seals
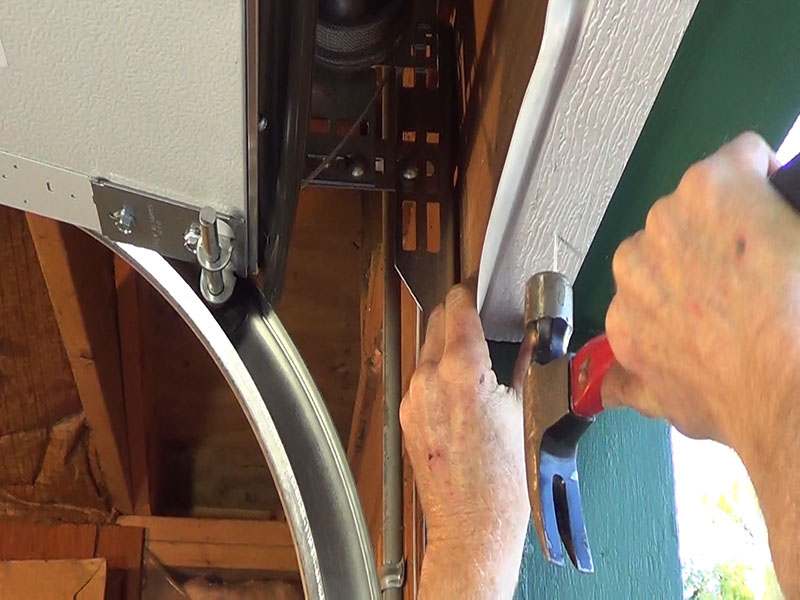
Garage Door Seals: Top and Side Seals
One great product to seal your garage door is PVC stop molding. This keeps the weather and debris out as well as improving the look of your door by covering the gaps between the door and the door jamb.
This video shows how to install PVC stop molding on a garage door.
This video shows how to replace reverse angle jamb seals.
This video shows how to replace garage door bottom seals.
Here are overviews of twin contact seals and wood door bottom seals.
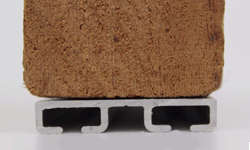
Garage Door Bottom Seal Retainers
This is a video overview of all the different types of garage door seal retainers.
Individual in-depth videos on the different types of seal retainers: C-Channel, L-Channel, Single Channel, Tounge & Groove, and Flat.
Garage Door Opener Repair
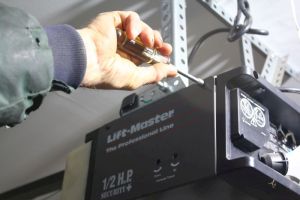
How To Adjust Your Garage Door Opener's Travel and Force
Adjusting your garage door opener can be quite confusing for someone who has never adjusted them. This video will explain to you how to adjust the lifting and dropping force of the door, as well as how to adjust the maximum height and minimum height of your door.
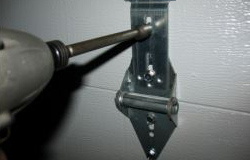
Garage Door Opener Bracket Installation
In this step by step guide, you'll learn how to install an opener bracket on the top section of your garage door.
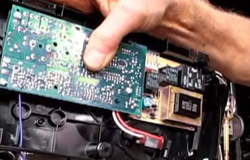
How to Replace the Circuit Board on Chamberlain Liftmaster, Sears, and Craftsman Garage Door Openers
When the average person typically sees a circuit board, they immediately seize up and think that's it's too advanced for them to fix. In reality, replacing circuit boards for the Chamberlain Liftmaster, Sears, and Craftsman garage door openers is relatively easy with proper instruction. This video will walk you through the process of replacing the circuit board on a Chamberlain Liftmaster, Sears, and Craftsman garage door opener.
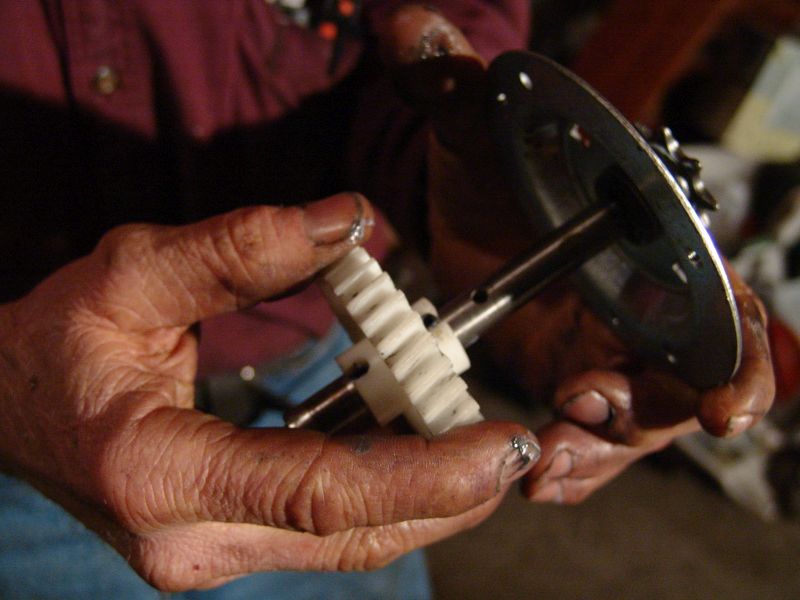
Gear and Sprocket Replacement for Chain Drive Openers
In this step by step guide, you'll learn how to replace the gear and sprocket assembly on Chamberlain, Liftmaster, and Sears openers that use chains and sprockets.
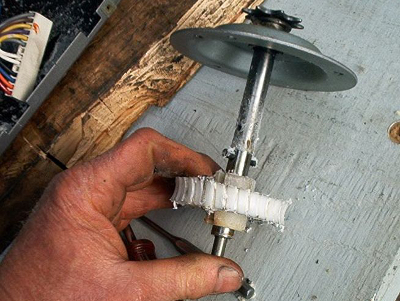
Gear Replacement for Chain Drive Openers
In this step by step guide, you'll learn how to replace the gears on Chamberlain, Liftmaster, and Sears openers that use chains and sprockets.
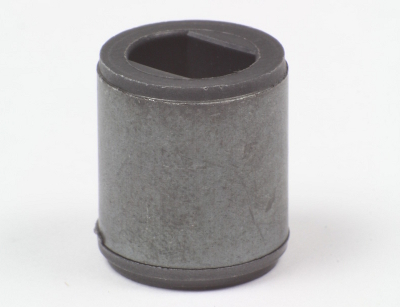
Genie Screw Drive Coupler Replacement
If the motor on your Genie opener is working, but the screw won't turn, and the door won't open, the issue may be a damaged screw drive coupler. To learn how to replace the coupler, check out this tutorial.
Genie Opener Repair
In this video, we'll show you how to repair a genie opener that was not properly assembled and has become damaged. We'll also show you how to check a functioning Genie opener to ensure that an often overlooked piece was installed correctly.
Dock Levelers

Dock Leveler Basic Operation
The first step in learning how to service dock levers is understanding how they work. Learn the function of components common to all dock levelers, whether Mechanical, Hydraulic, or Pneumatic.
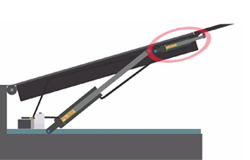
Introduction to the Three Types of Dock Levelers
The first step in learning how to service dock levers is understanding how they work. In this video, we'll cover the primary operating mechanisms used by dock levelers. This includes both the general design as well as the specific lifting mechanisms which fall into three categories: Mechanical, Hydraulic, and Pneumatic.
How Mechanical Dock Levelers Work
This video was produced to help you understand how dock levelers work so you can determine if this is the sort of work you feel qualified to do.If you don't feel qualified to work on a dock leveler safely, you should call in a professional.
Dock Leveler Repair
Dock Leveler Safety
The following safety instructions are intended to help provide proper safety guidelines for working on any dock leveler. Like any mechanical piece of equipment, if the proper precautions aren't taken, serious injuries or death may occur.
Kelley Push Bar Replacement
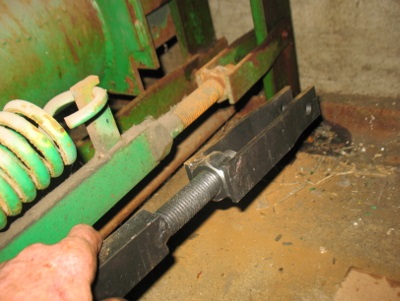
Most mechanical dock levelers use snubber mechanisms to lift the lips as they are raised, and they close slowly as shocks absorb the weight of the lip. In many of the Kelley dock levelers, however, a push bar and a yieldable rod are connected to a link assembly so that when the deck is raised the push bar drops down. Then, as someone walks across to the outside of the dock leveler, the plate on the push bar catches on the middle bolt allowing the push bar to raise the lip.
Rite-Hite Lip Assist Bar Replacement
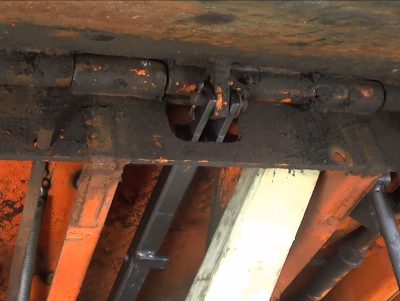
In most Rite-Hite dock levelers, a ring rolls in the curve of a lip keeper as someone walks across the deck of the dock leveler. This allows the lip assist bar attached to the ring to push the lip up. Over time, the bar connecting the ring and the lip assist bar wears out, and the ring is unable to stay on the track of the lip keeper. This indirectly prevents the lip from raising when someone pulls the pull chain. This tutorial demonstrates how to properly replace a worn lip assist bar in a Rite-Hite dock leveler.
Kelley Hold Down Replacement
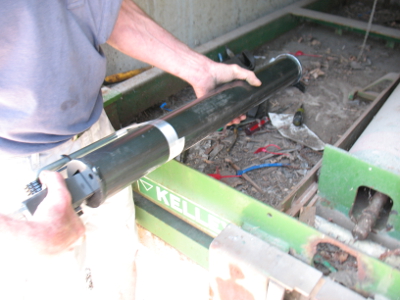
In most Kelley dock levelers, a hold-down housing stores a ratchet bar that locks to the bottom of the deck and keeps it closed. As someone pulls the release chain on the deck, the ratchet bar unlocks and extends, allowing the dock leveler to open.
How to Rebuild a Serco Hold Down Unit
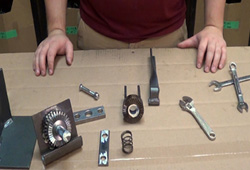
When a Serco hold down unit ceases to function, it may not need to be entirely replaced. Instead, you can disassemble the unit and replace the damaged components. This can save time eliminating the need to remove the housing, grinding, welding, and installing a new unit.


